

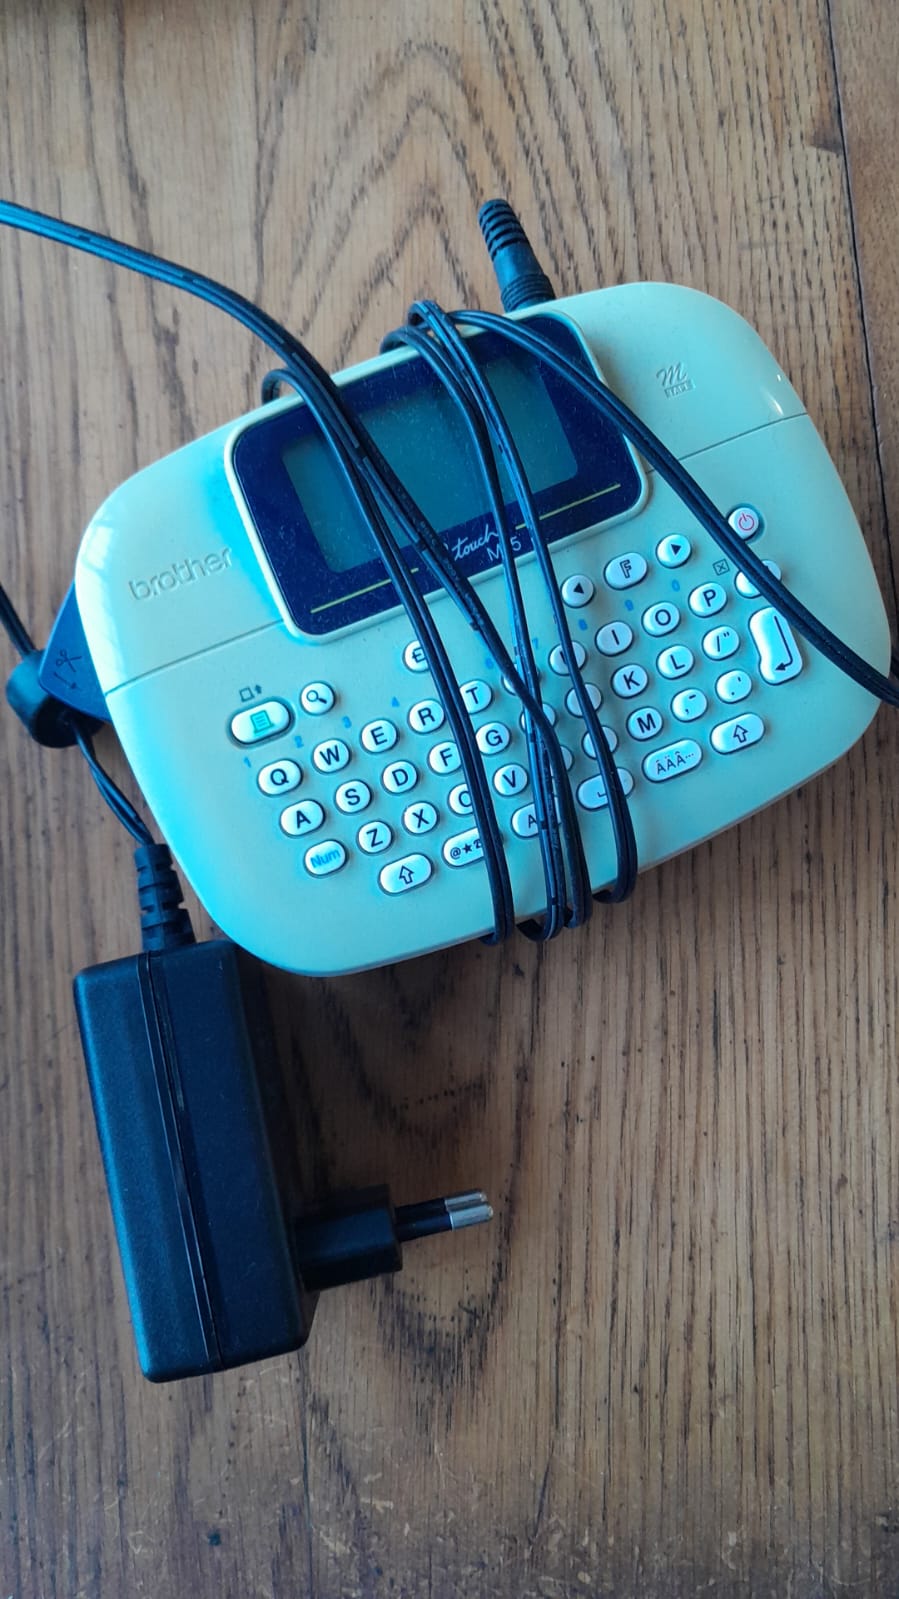
Key Features and Specifications
- Display: Easy-to-read 12-character (single-line) LCD for previewing labels before printing.
- Printing: Direct thermal (no ink/toner needed). Supports 1 or 2 lines of text. Max print resolution ~203 dpi, print speed ~7.5 mm/sec. Max print height ~8 mm.
- Fonts & Styles: 9 type styles (including bold, italic, outline, shadow, vertical), 10 frames, 8 Deco Mode patterns, and over 200 symbols. Helsinki font.
- Tapes: Uses Brother “M” series non-laminated tapes only (not the standard TZ series). Compatible widths: 9 mm (~3/8″) and 12 mm (~1/2″). Various colors available (e.g., black on white starter tape often included). Tape length per cassette ~26.2 ft (8 m).
- Power: 4 × AAA alkaline batteries (not rechargeable; do not mix old/new). Auto power-off to save battery.
- Other: Manual cutter, stores up to 3 labels, label length setting, preview function. Dimensions: ~6.1″ × 4.4″ × 2.4″ (156 × 111 × 61 mm). Weight: ~0.57 lb (without batteries/tape).
- Price: Typically around $25–$50 depending on retailer and bundles (often includes a starter tape).
It’s great for labeling file folders, storage bins, cables, school supplies, kitchen jars, etc., but the non-laminated tapes are best for indoor use (less durable against moisture/ abrasion than laminated options on higher models).
Setup and Basic Use
- Batteries & Tape: Open the cassette cover, insert 4 AAA batteries (correct polarity), insert M-series tape cassette (ensure tape feeds under guides), close cover securely.
- Power On: Press the power button. Remove any protective film on the display.
- Initial Settings: Set language (English default) and units (inch/mm) via Function key + arrows.
- Create Label: Type text (use Shift/Caps/Num Lock), add styles/frames/symbols/Deco, preview with Preview key, then Print. Use cutter lever to cut.
- Feed/Cut: Use the feed function if needed; always feed after inserting new tape.
Manuals are available on Brother’s site (User’s Guide PDF covers full operations, troubleshooting, and safety).
Compatible Tapes
Genuine Brother M-series (e.g., M-K231 black on white). Compatible generics exist but stick to genuine for best results. Available in multiple colors and widths (9mm/12mm).
Common Troubleshooting
- Won’t turn on: Check/replace batteries, clean contacts, or inspect DC jack if using adapter (though primarily battery-powered).
- Tape not feeding/jamming: Ensure correct insertion, feed tape manually, clean path/print head with dry swab (no alcohol), check cutter sharpness.
- Blank/poor print: Low batteries, empty cassette, dirty print head, or cold temperatures.
- “Text Limit” or errors: Too much text for width/lines; shorten or adjust size.
- Other: Factory reset if needed (check manual). Data clears if batteries are removed for too long.